Plan a useful space beneath an elevated deck with coordinated drainage, ceiling finishes, lighting, and a suitable ground surface.
Decide what the space under your deck needs to do
The area beneath an elevated deck can become a shaded sitting area, an outdoor dining spot, or a more useful connection to the backyard. Start with headroom, access, ground conditions, and exposure to rain. A finished ceiling improves appearance, but it does not automatically manage water coming through the deck above.
For Minnesota homes, consider both rainfall and snowmelt. Water needs a planned route from the upper deck to an appropriate discharge point. The design should also leave a way to maintain the drainage components and assess the structure later.
Understand drainage above and below the joists
Systems installed above the framing
Some drainage systems use troughs and downspouts installed over the joists before the decking goes on. This makes them a planning consideration for new decks or resurfacing work with the boards removed. Posts, blocking, and penetrations need coordinated details.
Trex's RainEscape installation overview describes its trough-and-downspout approach and the need to follow the installation system. It is an example of the method, not a specification for every deck or a claim that Brewer Built used that product in the project shown here.
Systems installed beneath the framing
Other systems collect water below the joists and direct it toward a gutter. They may be considered when retaining the upper surface, but headroom, slope, attachment, and access still matter. Ask how the framing above will dry and how debris or leaks will be addressed.
Do not treat decorative ceiling boards or ordinary finish panels as a drainage system. The water-management layer and the visible ceiling must work together.
Plan the ground surface and furniture together
A sheltered ceiling does not solve muddy ground or a poorly draining patio. Decide whether the lower area needs a patio, a suitable ground-level deck, or another finished surface. Keep access to doors, utility equipment, and required openings clear.
- Dining area: check chair clearance around existing support posts.
- Quiet seating: orient chairs toward the yard rather than a service area.
- Outdoor storage: choose storage appropriate for wind-driven rain and changing humidity.
- Lighting: plan exterior-rated fixtures and wiring before the ceiling is finished.
Measure usable headroom after allowing for the ceiling and drainage assembly. A finish that looks attractive in a tall space may feel cramped beneath a lower deck.
Follow the water all the way to its destination
Ask where gutters and downspouts will send runoff. Avoid creating a concentrated discharge at the foundation, onto a frequently used walkway, or into a spot that already stays wet. Discuss the outlet location with the drainage and site plan.
Leave access for cleaning outlets and checking seams. Trees can add leaves and debris; a hidden collection system is not a maintenance-free one. If winter freezing affects the outlet, have the installer address that condition rather than assuming more caulk will solve it.
Plan for occasional wind-driven rain at open sides even when overhead drainage works. Furnishings and electrical components still need to suit an outdoor location. A dry-looking ceiling is not proof that every area beneath it will remain dry in all weather.
A Minnetonka example of using the lower level
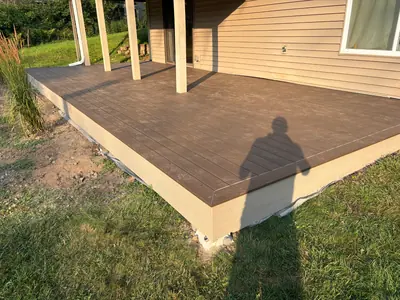
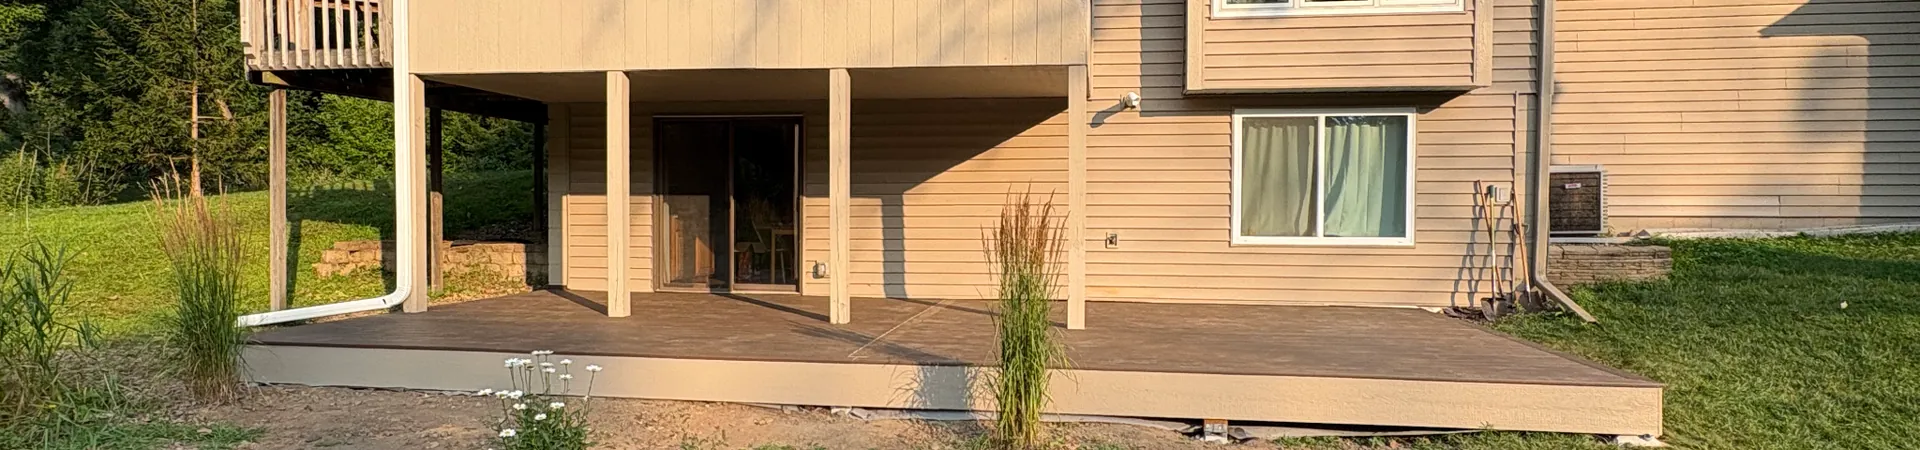
Brewer Built's Minnetonka under-deck project created a ground-level composite deck beneath an existing elevated structure. New framing worked around support posts and provided a finished walking surface outside the lower-level doors.
That project demonstrates lower-level layout and surface planning. Its documentation does not establish a particular ceiling or drainage system, so it should not be used as proof of one. Use the photos to discuss how existing posts and doors might shape your own layout.
Bring drainage into the deck plan early
If you are replacing upper decking, discuss under-deck use before the boards are installed. If the upper deck will stay, ask for a clear explanation of retrofit options and access requirements. Include structural inspection, drainage, ceiling finish, lighting, and lower-surface work as separate parts of the scope.
Explore deck construction and upgrades and resurfacing versus replacement. For an estimate, send photos above and below the deck and describe whether your main goal is shade, a finished appearance, or improved rain protection.